TrackMate – Example from documentation#
Ershov, D., Phan, M.-S., Pylvänäinen, J. W., Rigaud, S. U., Le Blanc, L., Charles-Orszag, A., …
Tinevez, J.-Y. (2022). TrackMate 7: integrating state-of-the-art segmentation algorithms into tracking pipelines. Nature Methods, 19(7), 829–832. doi:10.1038/s41592-022-01507-1
TrackMate documentation and tutorials:
https://imagej.net/plugins/trackmate/
TrackMate manual:
https://imagej.net/media/plugins/trackmate/trackmate-manual.pdf
The following demo can be accessed here: https://napari.imagej.net/en/latest/examples/trackmate.html
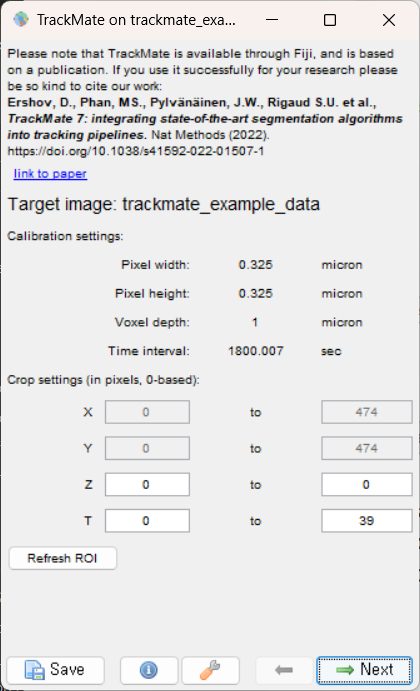
Open the
trackmate_example_data.tif.Run the TrackMate plugin (Plugins > Tracking > TrackMate). Select “Next” as we don’t need to make any changes. The settings in this window allow you to crop the original data as needed.
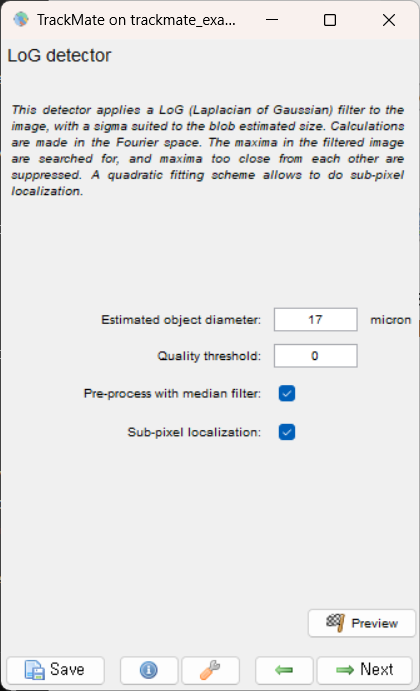
Use the Laplacian of Gaussian (LoG) detector. The plugin provides various algorithms to help process the image, also including the difference of gaussian and hessian detectors.
Enter 17 as the estimated object diameter and 0 as a quality threshold, “Next.”
The next page provides a summary. Select “Next.”
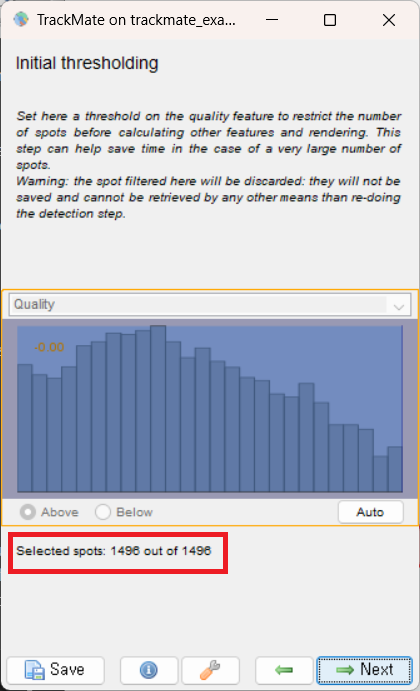
For Initial Thresholding, verify you see 1496 spots selected, and select “Next.”
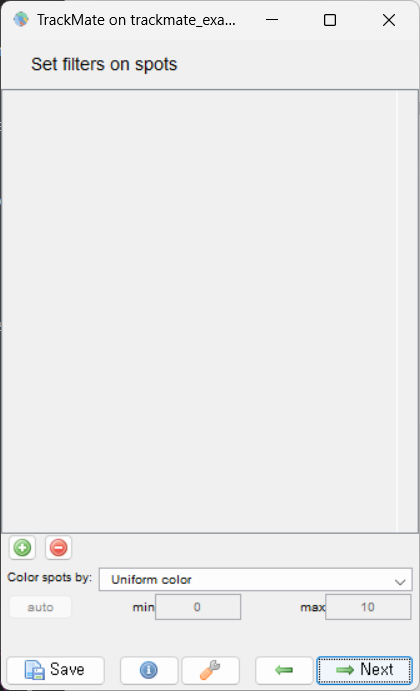
Select “Next” as we do not need a filter. If a filter was required, we could use the “Plus” button to add a filter and adjust the selection metric.
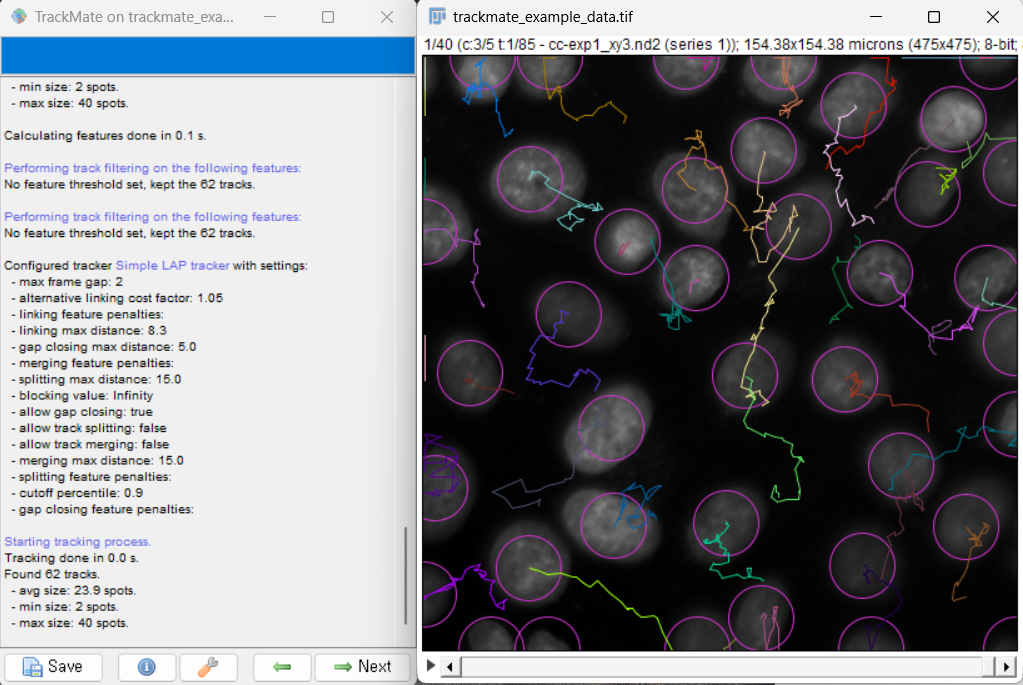
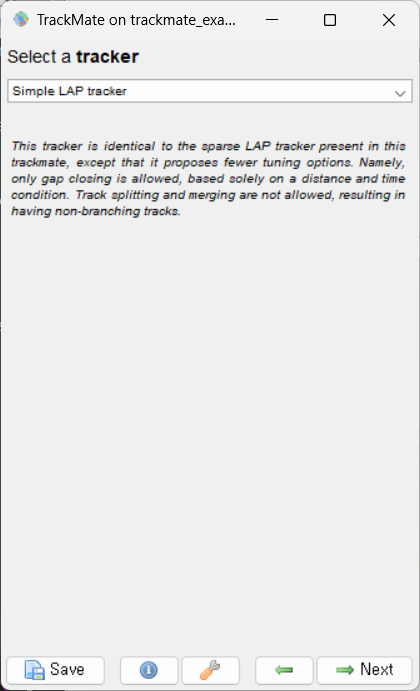
Use the “Simple LAP tracker”, then select “Next.” TrackMate also provides a variety of other methods.
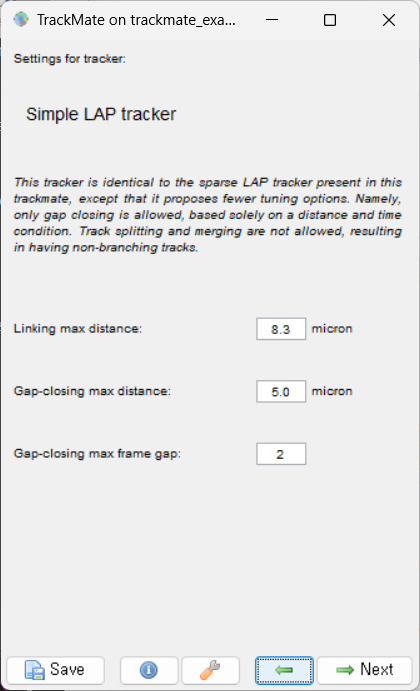
Then we set the parameters for the tracker. The linking max distance will be 8.3 microns, the gap-closing max distance is 5 microns, and the gap-closing max frame gap is 2 micron. Select “Next.”
A summary page is displayed. You can scroll through the image and see the proposed tracks for each cell. Select “Next.”
Select “Next” three more times as we will not filter any of the tracks and do not need to edit the display options.
Select “Execute” for the final image, which can be run over all of the frames.